.svg)
Interface and Navigation
Understanding Geometra's interface is the key to working efficiently. In this article, you'll get a complete overview of the program's different views, menus, and tools — so you always know where to find what you need.
Main Menu
When you log in to Geometra, you'll find the main menu on the left side of the screen. From here you can navigate to all your projects, manage templates, and adjust your personal settings. You can also send feedback directly to us or toggle the chat support on and off.
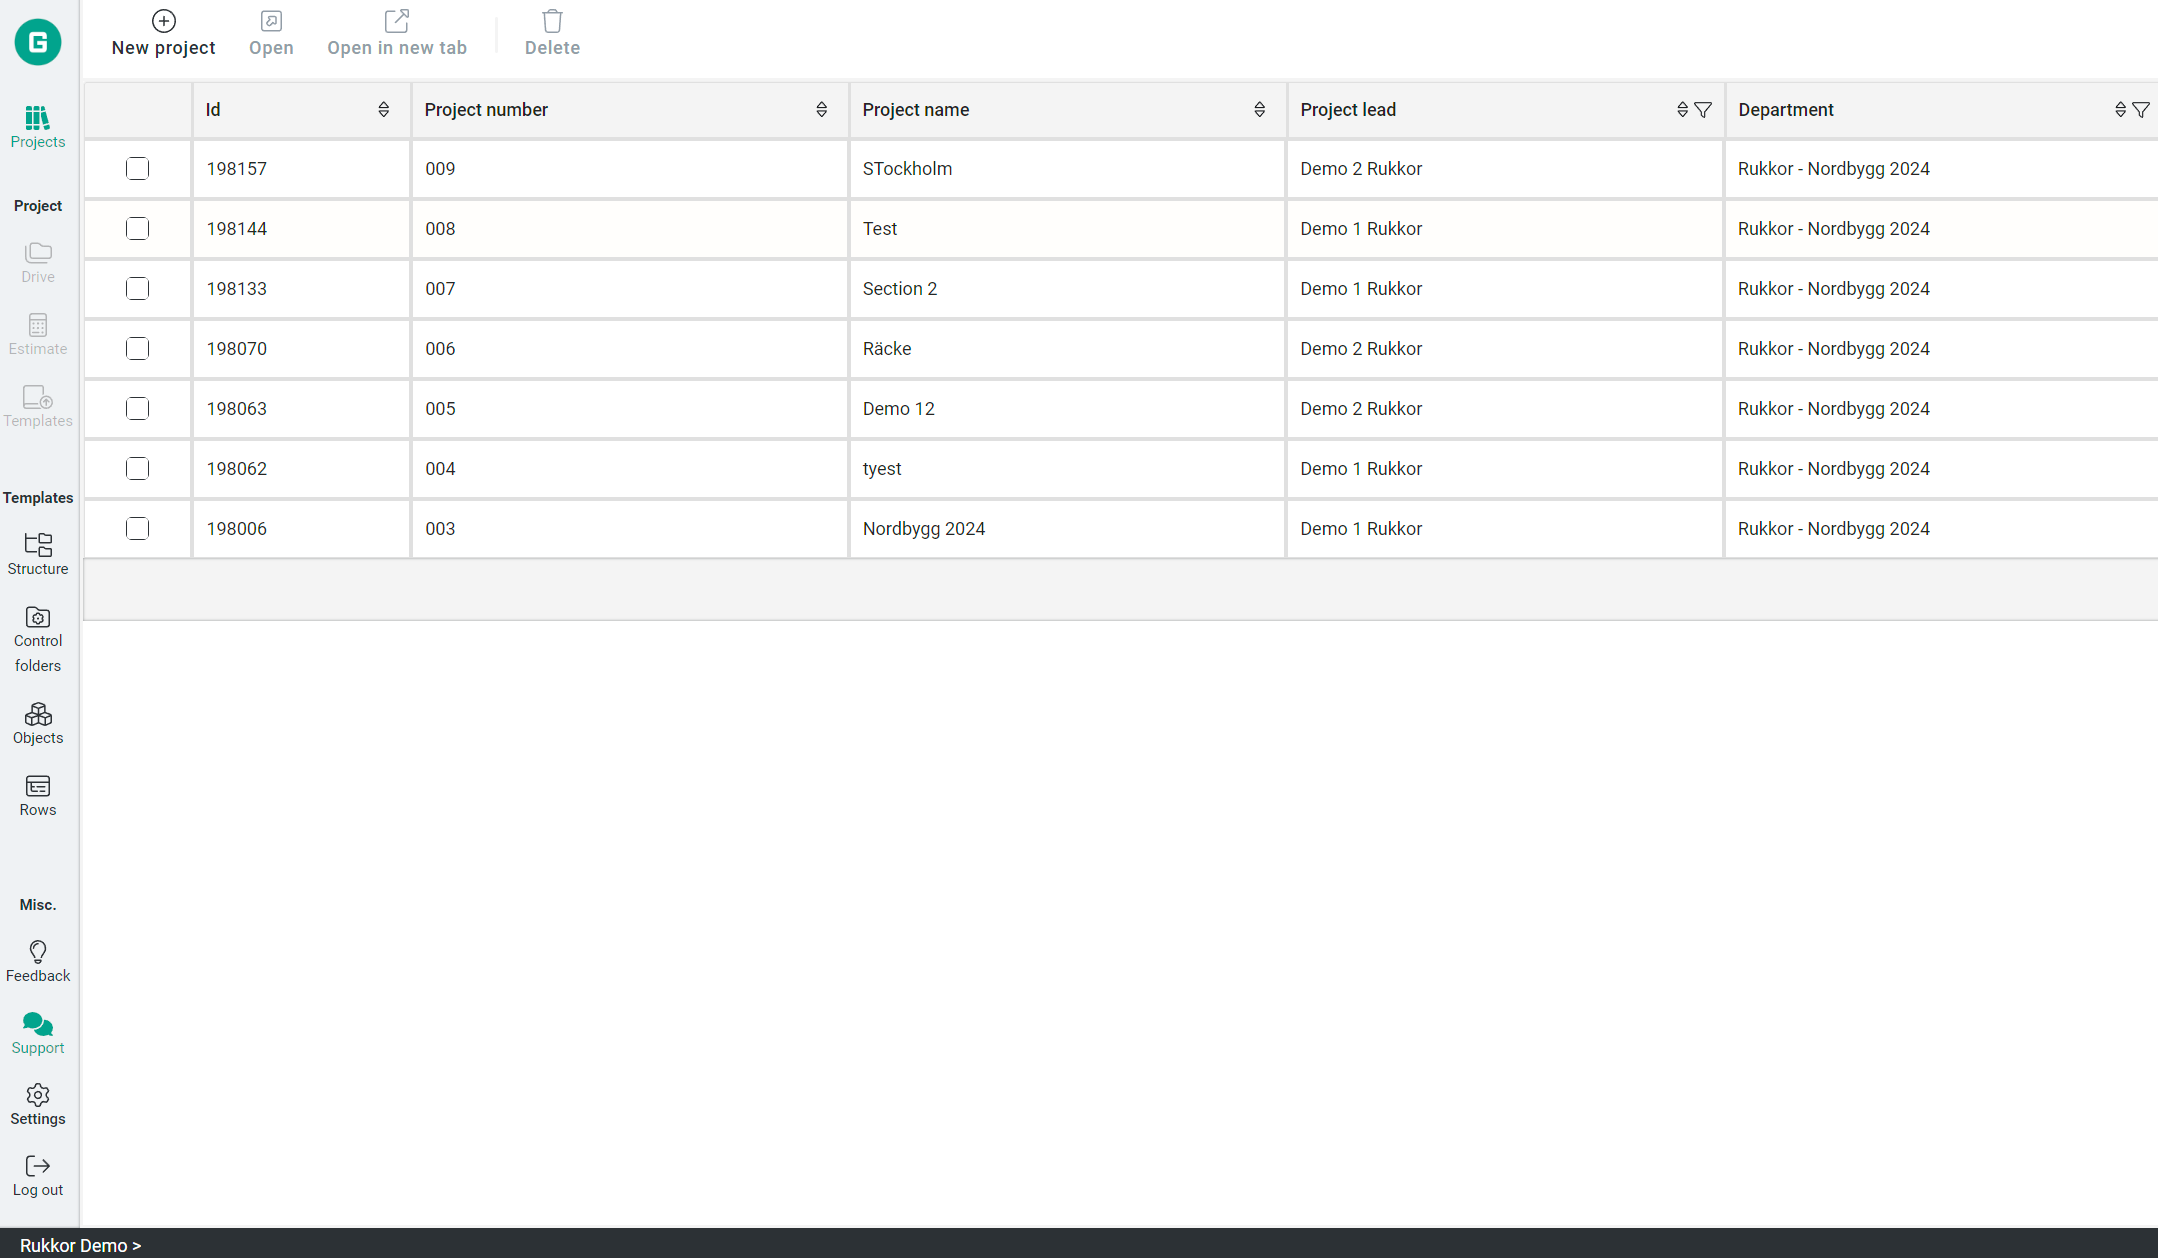
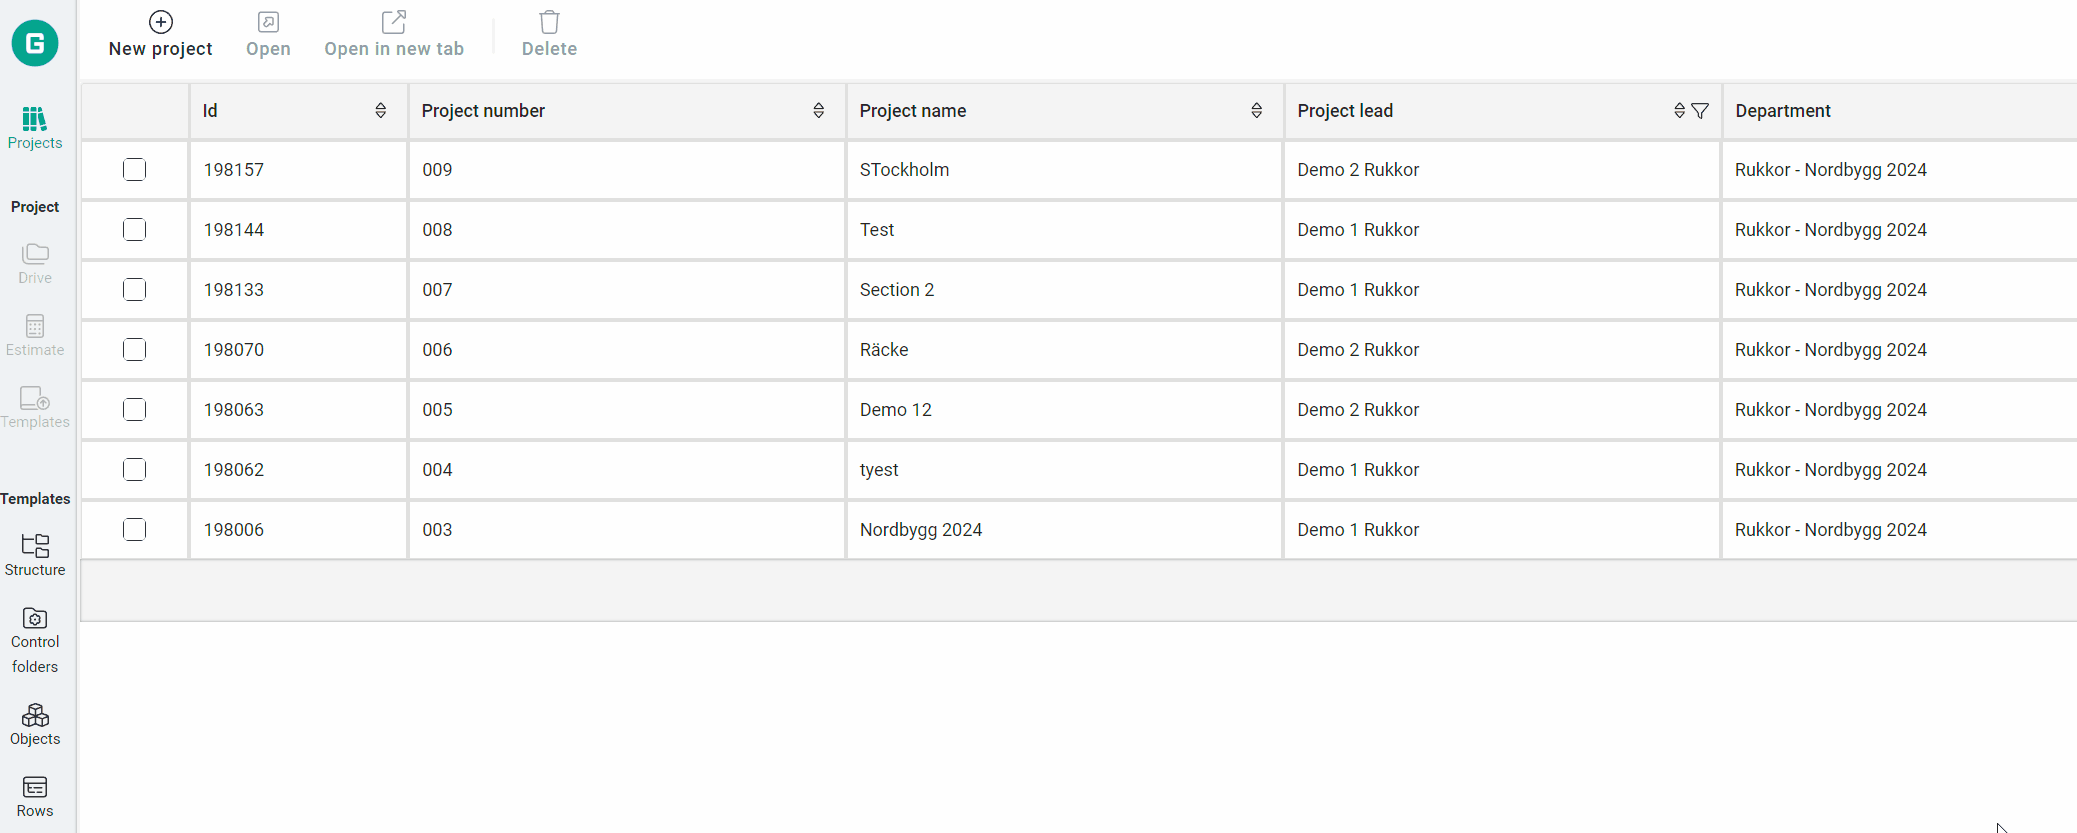
Project List
Your project list is found under "Projects" in the main menu. It consists of two parts: a list of all your projects and a properties panel on the right. In the properties panel, you can update project numbers, names, departments, and project leaders. Use the search and filter options to quickly find the right project. From the toolbar at the top, you can create new projects, open existing ones, open projects in new tabs, or delete them. Opening multiple projects in separate tabs lets you work on several projects at the same time.
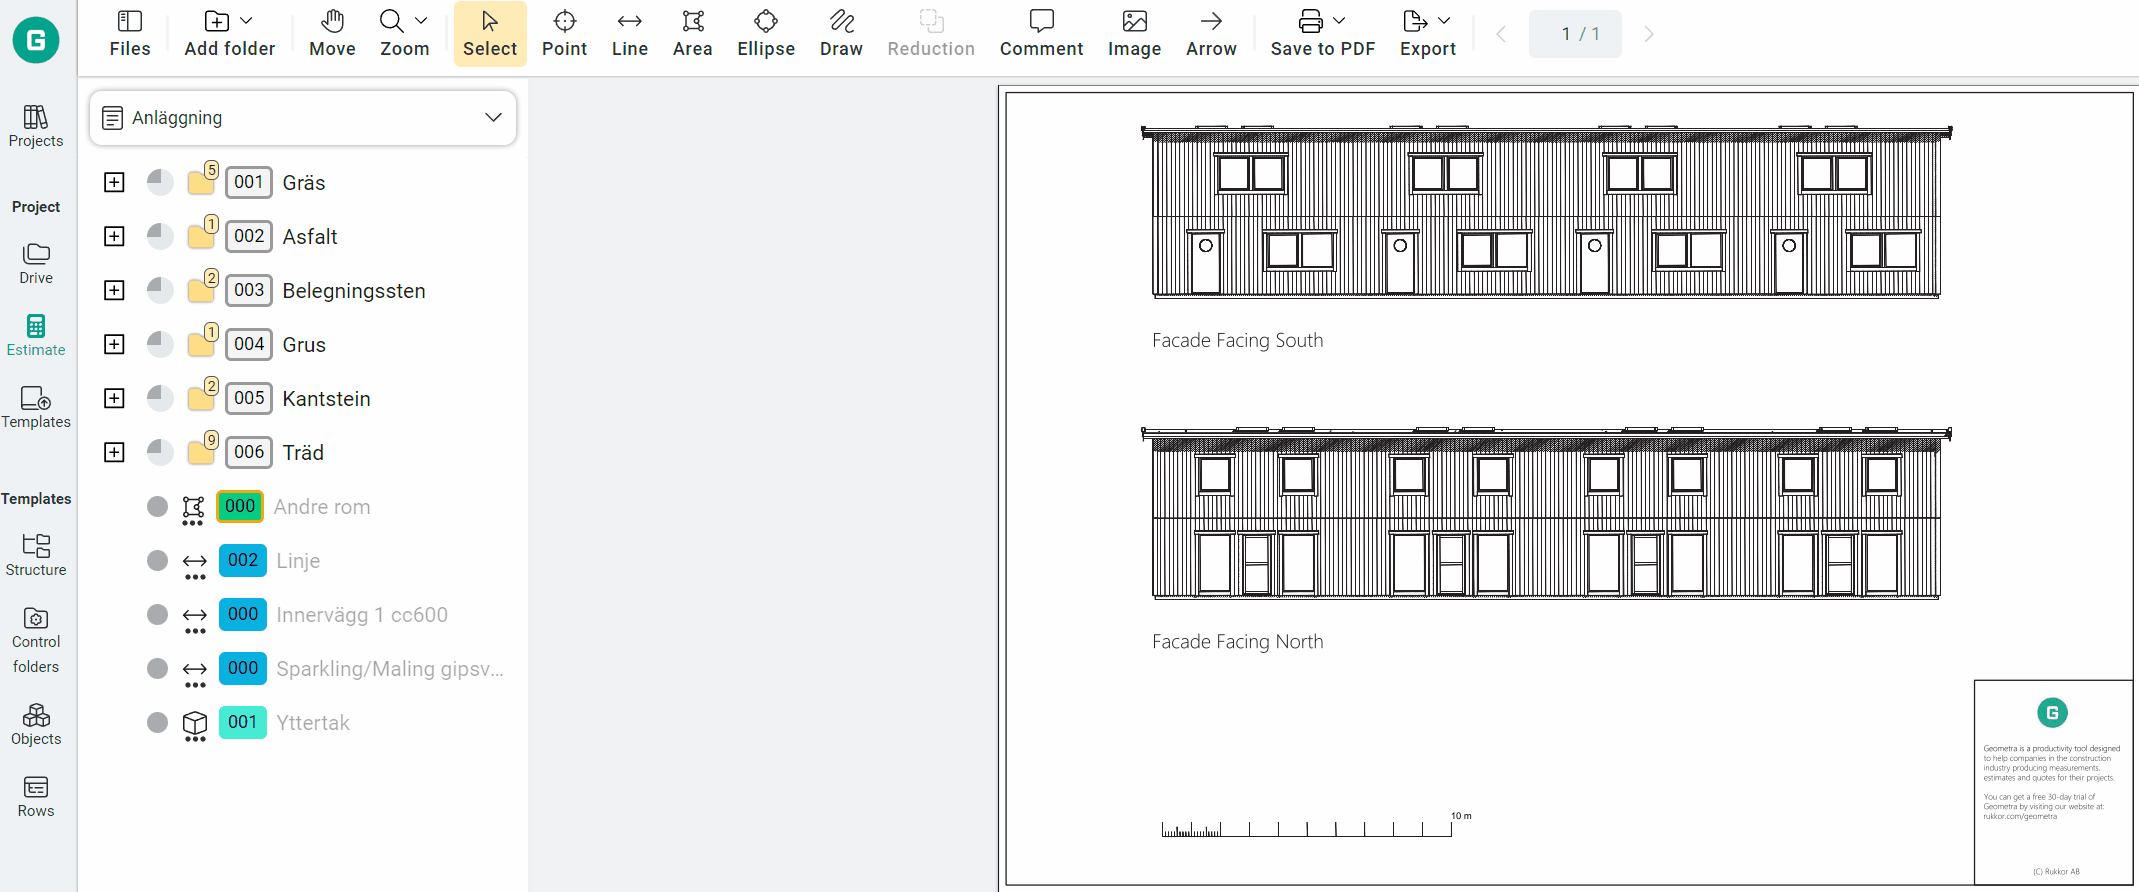
File Tree
The file tree is found in Drive and is accessed by opening a project. This is where you manage all files for that specific project — create folders, upload files, and keep your project organized. At the top of the file tree, you can switch between estimates. The same file can appear in multiple estimates and contain different information depending on which estimate is active. Use structure templates to standardize how you name and organize folders across projects. You can also search for files using the search box. Select a file to open it directly in the estimate view and start measuring.
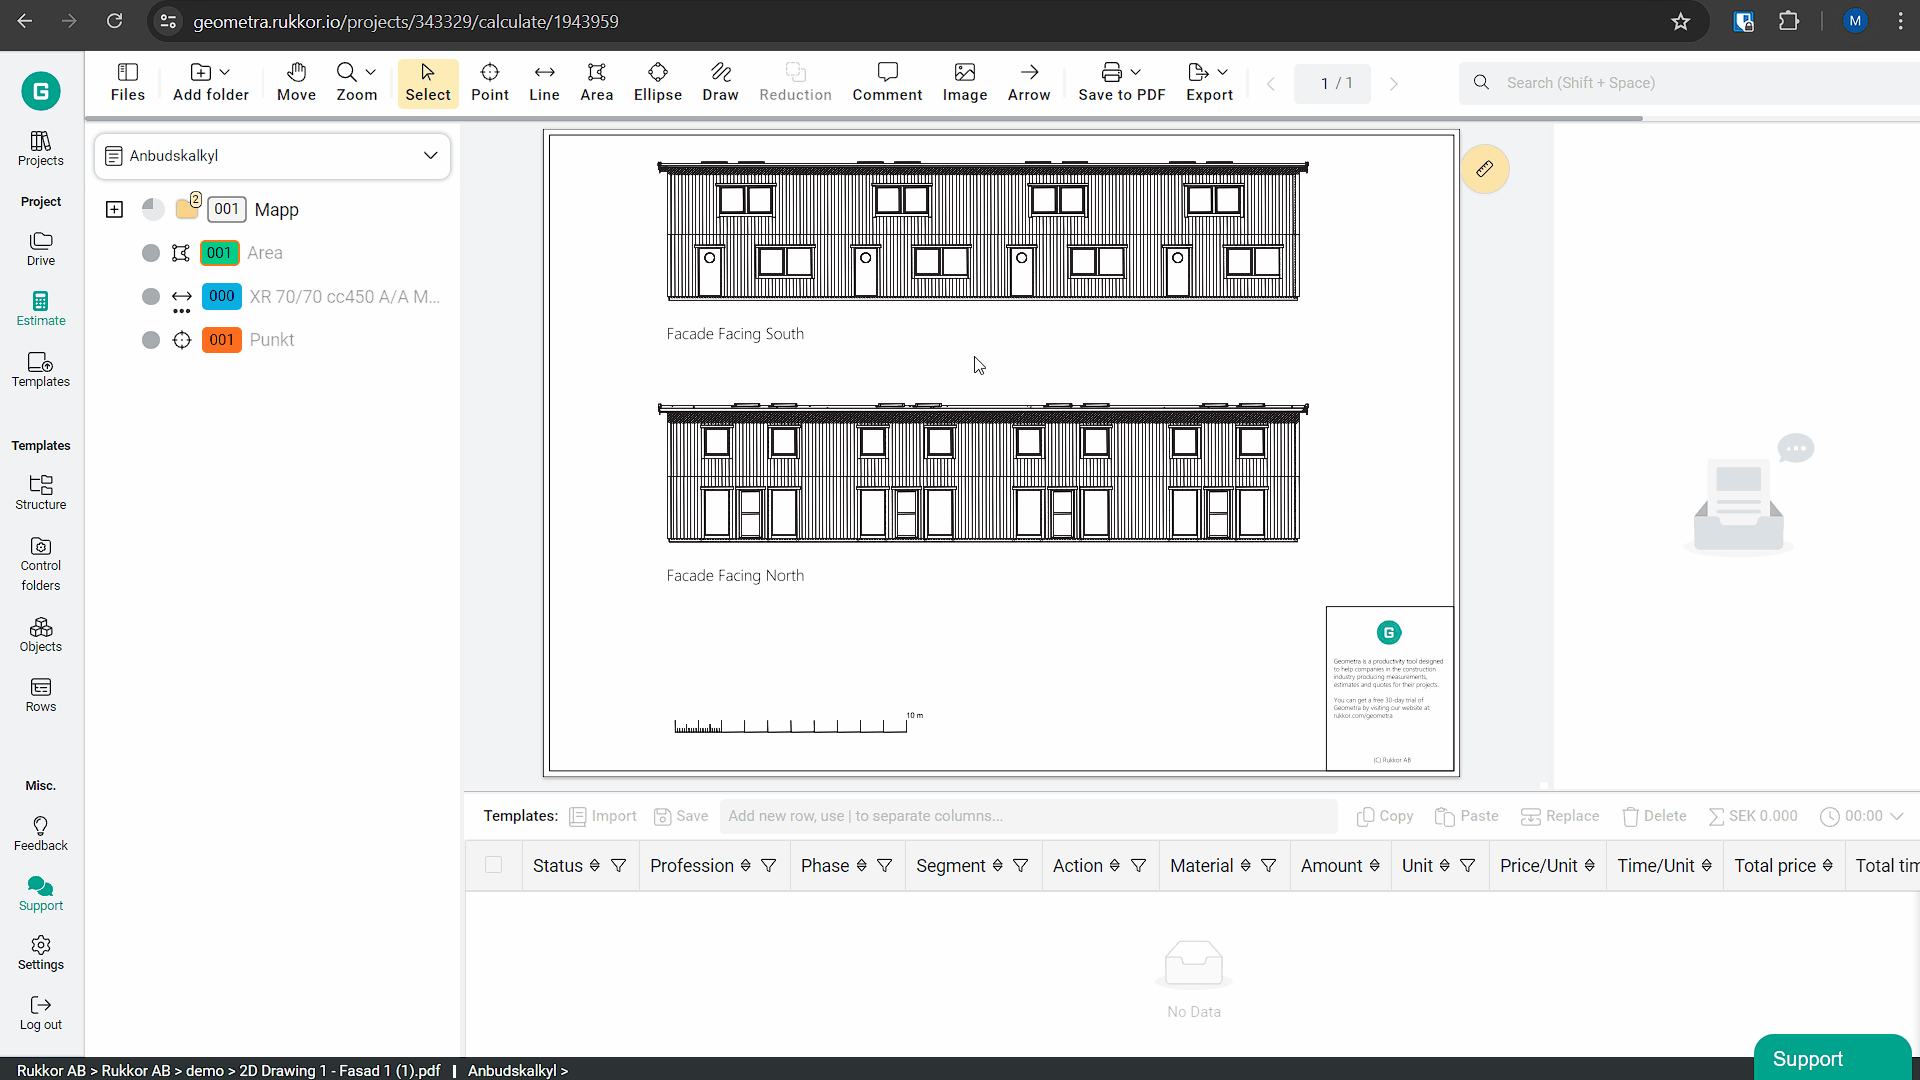
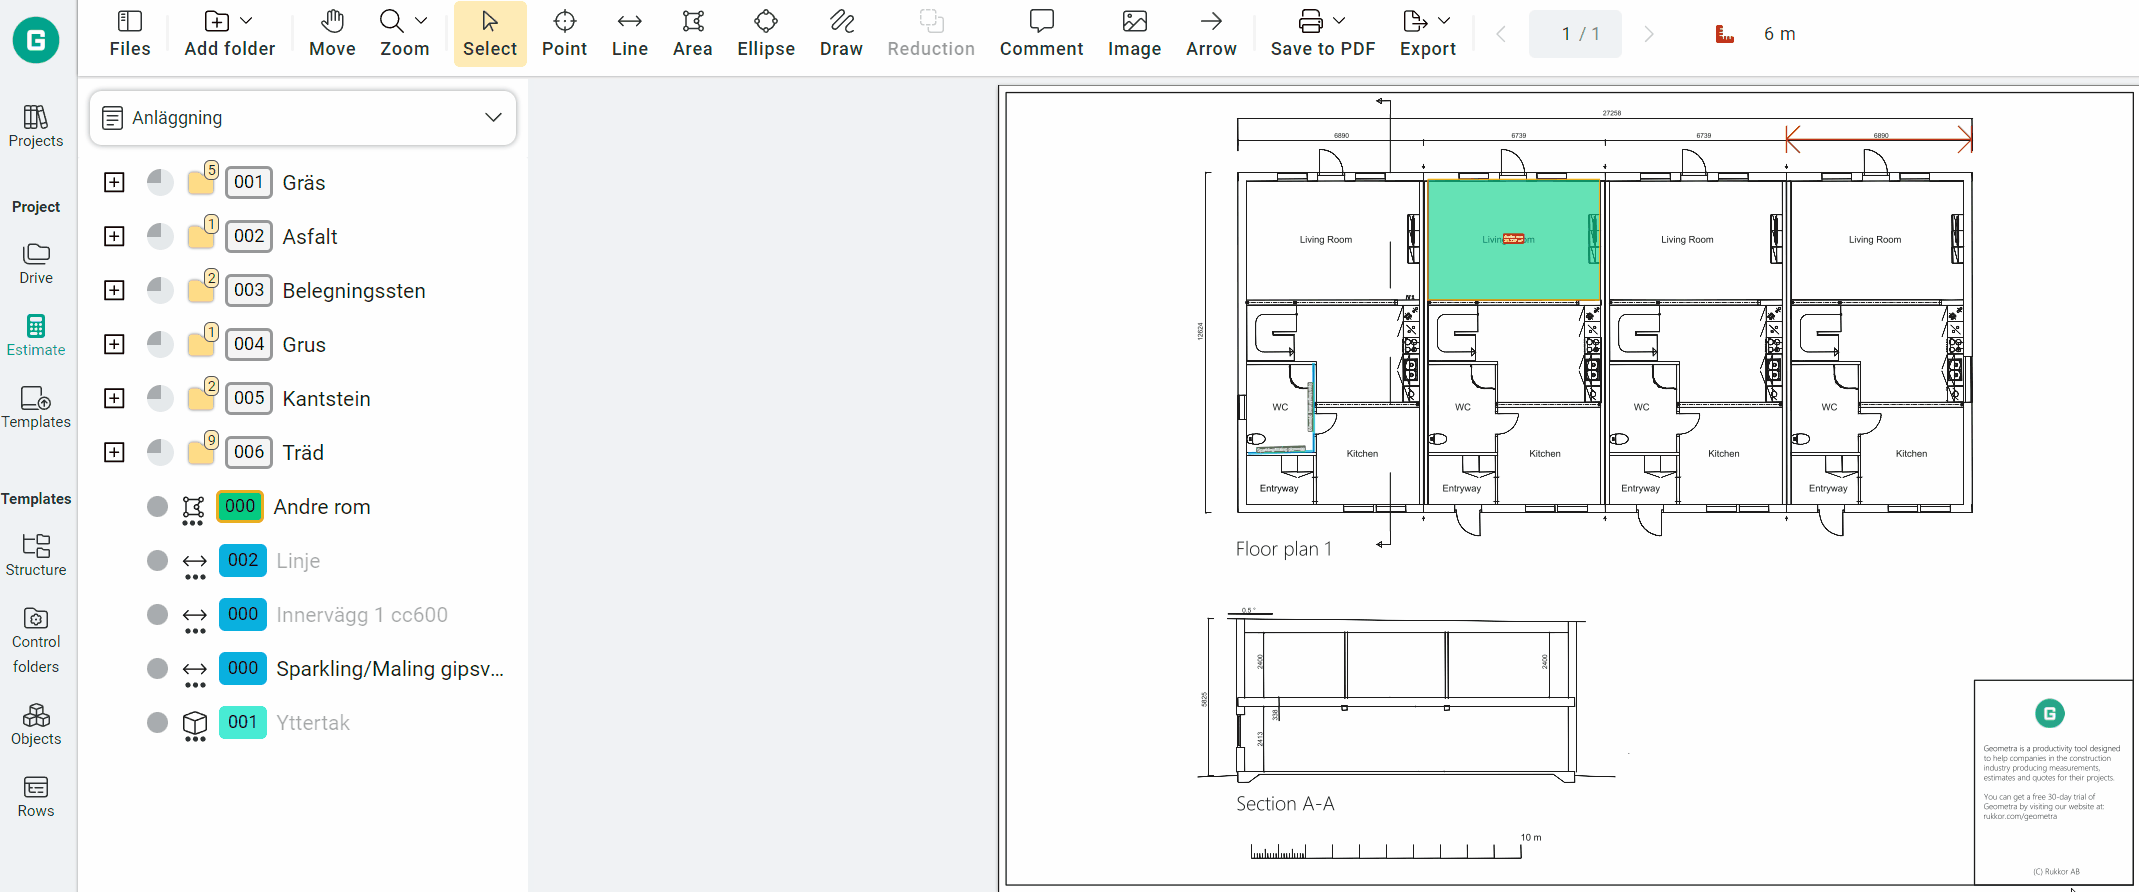
Estimate Tree
The estimate tree is where you work with your quantity takeoffs. It shows all the objects and folders for the active estimate. Every time you measure or mark something on a drawing, an object is created and added to the estimate tree. Objects can be organized into folders to keep your estimate structured. Like in the file tree, you can switch between estimates at the top and use structure templates to build estimates consistently across projects. Read more under Templates.
Archiving of Estimates
When an estimate is complete, you can archive it to keep your workspace clean and organized. Archived estimates are saved and can be accessed again if needed.

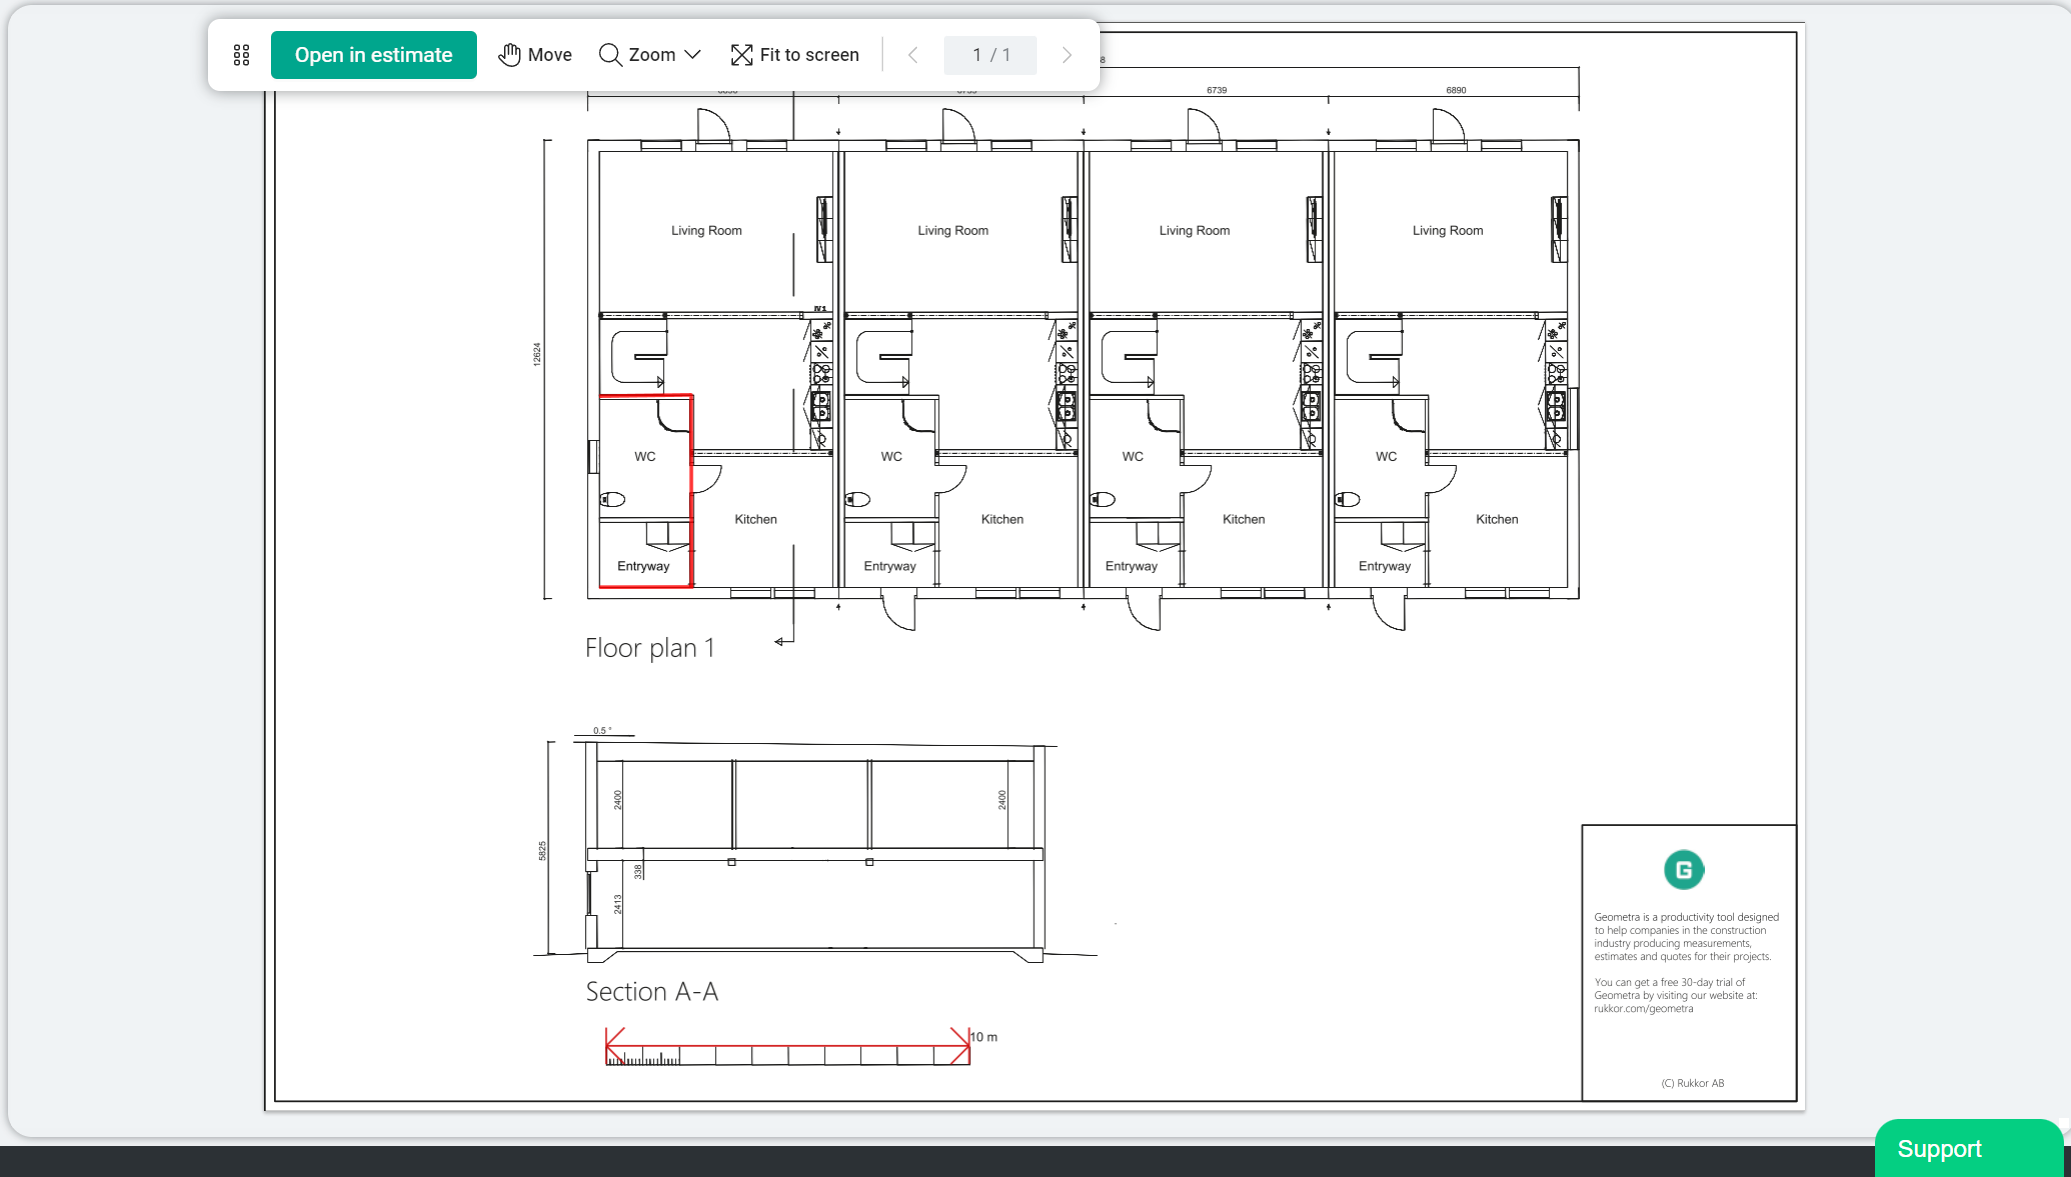
Document Panel
The document panel displays the files, drawings, and models that Geometra supports. In Drive, the selected document is shown as a preview with information from the active estimate. When you open a document in the estimate view, all measurement and markup tools become available.
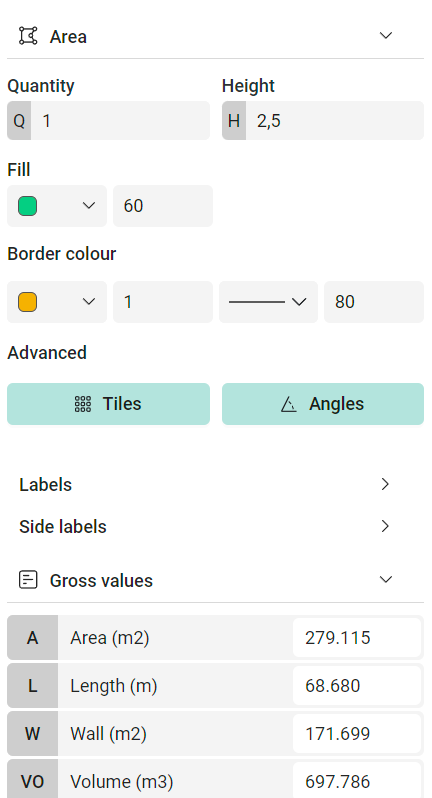
Property Panel
The property panel appears in several places throughout Geometra and adapts to what you have selected. For example, if you select an area object, the panel will display all available settings for that area — such as color, name, and formula. Use the property panel to customize and configure your objects directly.
Rows
Rows are found at the bottom of the estimate view and are where your measurements are converted into quantities. The rows section has two parts: a table showing all rows you've added, and an input field for creating new rows. As you work, Geometra suggests rows you've already used in the project — making it faster to keep your estimate consistent. Read more under Rows.

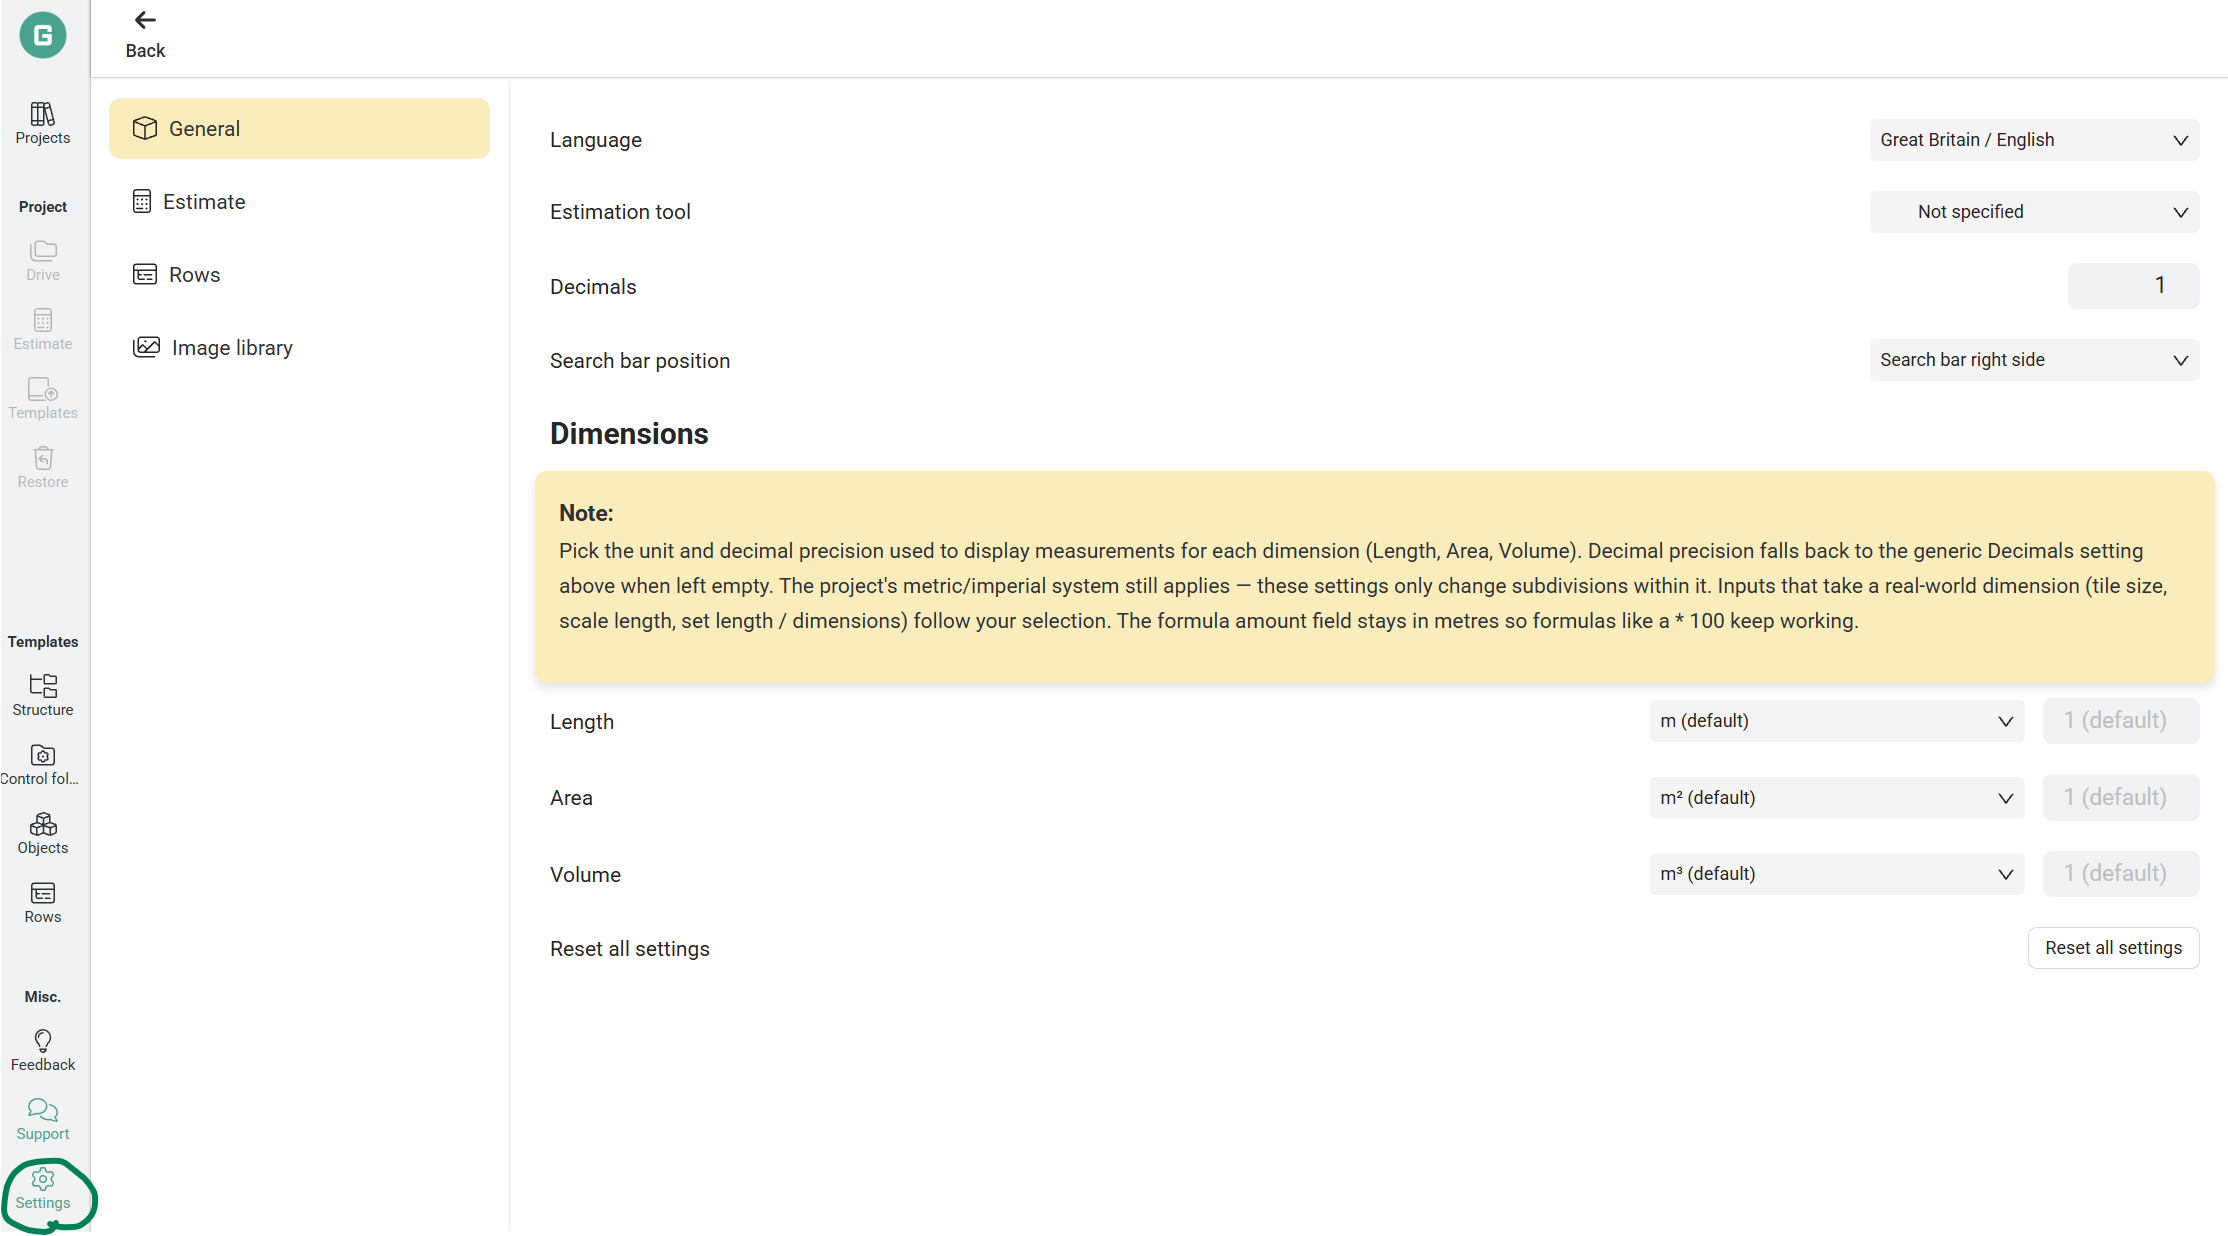
Settings
Your settings are found at the bottom of the left menu. Here you control how Geometra works for you — settings are personal and apply only to your user account.
Choose unit and set decimals
In settings, you can choose which unit each dimension is displayed in. For example, you can show lengths in millimetres while keeping areas in square metres. You can also set decimal precision per dimension. Note: formulas in Geometra always use metres internally, so a 50 mm reduction should still be entered as L - 0.050.
Zoom and Scroll
Use Ctrl + Scroll to zoom in and out. Geometra zooms towards your mouse pointer, so position it where you want to zoom in. To scroll horizontally, hold Shift and use the mouse wheel to move sideways instead of up and down.
Sorting
In Settings, you can choose how data is sorted in your estimate. Sorting by name, for example, makes text more readable and easier to scan. Choose the sorting method that works best for your workflow.
Switch File in Estimate
In the estimate view, you can quickly switch to another file without going back to Drive. Click "Files" in the estimate view to browse and select a different file to work on — keeping your workflow fast and uninterrupted.
.svg)