.svg)
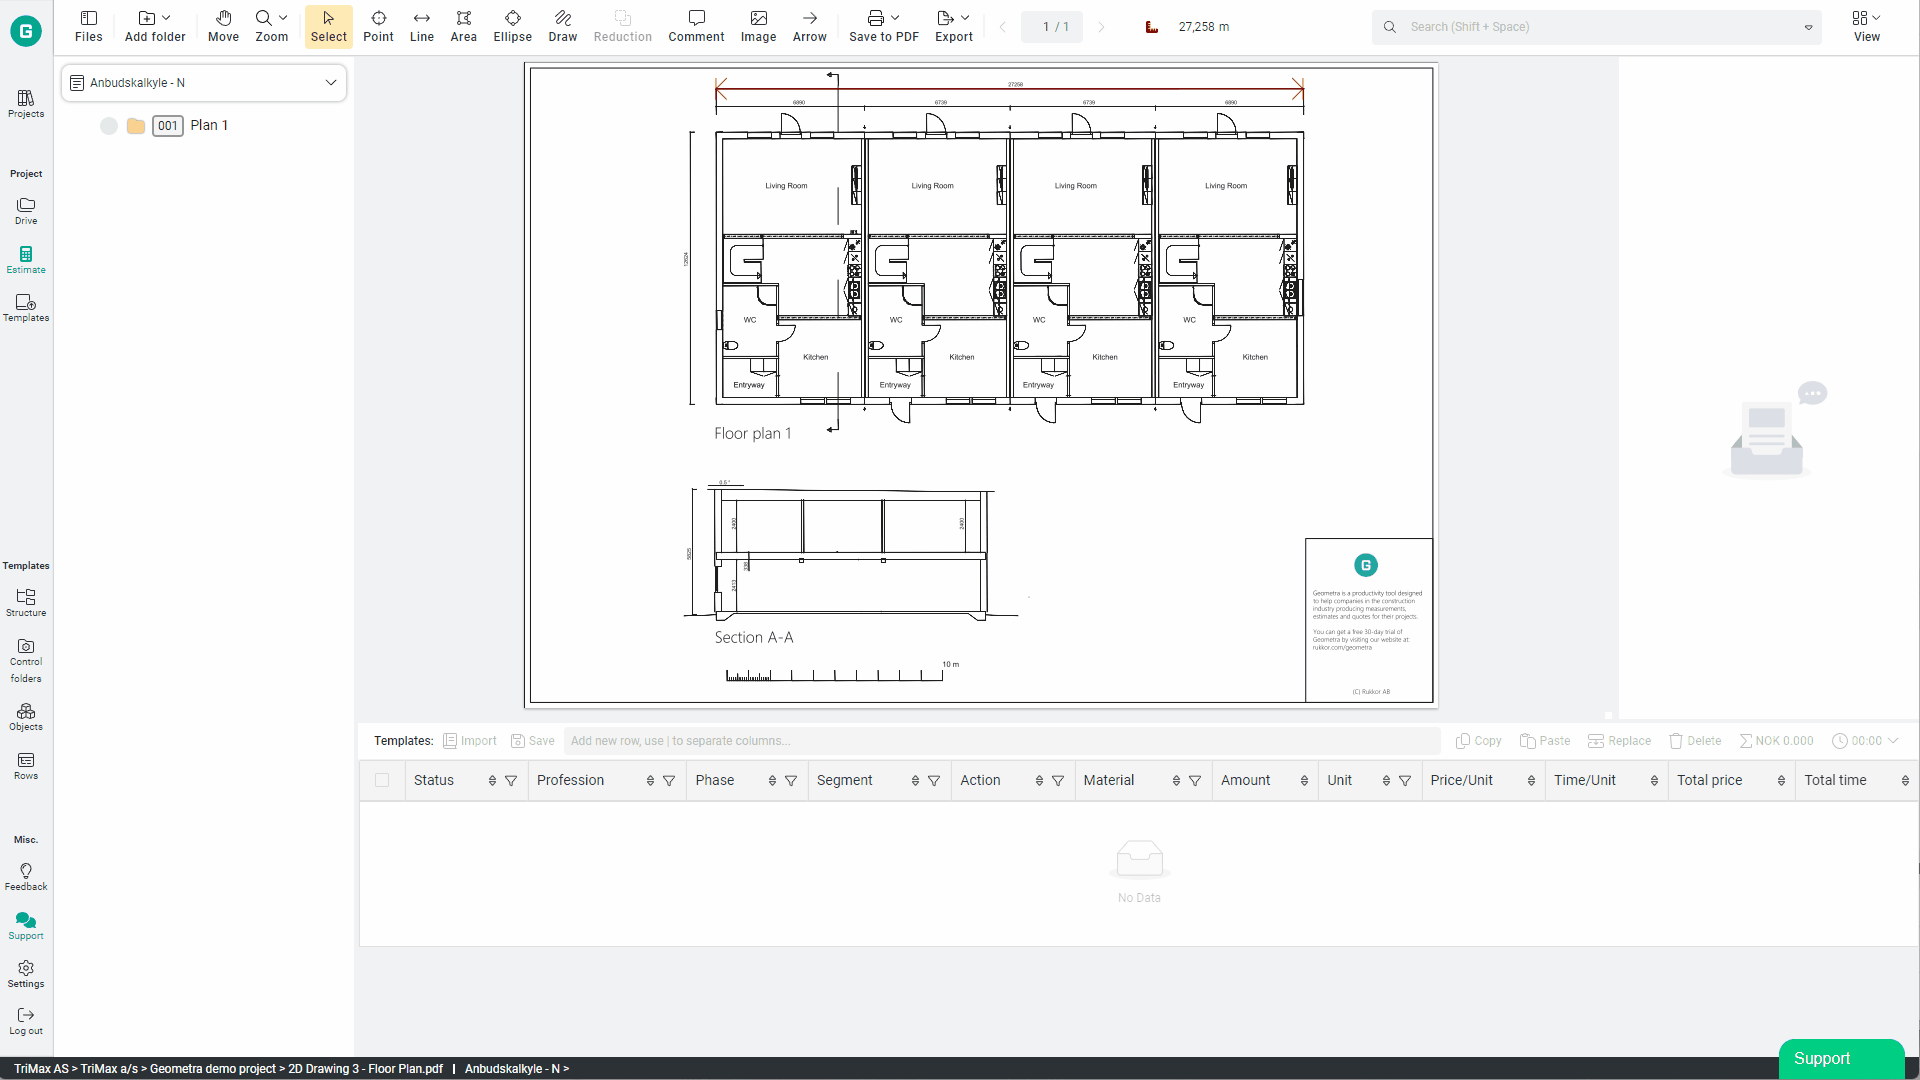
Rows
Rows are where the magic happens in Geometra. This is where your measurements are converted into quantities and your bill of quantities takes shape. In this article, you'll learn everything you need to know about working with rows.
What are rows, and how do they work?
Rows let you transform measurement values into detailed quantity items. They also allow a single placed object to serve more than one purpose — giving you more flexibility without extra markup work.
Rows are your key to performing advanced calculations quickly and efficiently. For example, you can define how much excavation mass is needed and link it directly to the net volume measurement value of an object. In just a few steps, a measurement becomes a fully described quantity item.
Columns and Information
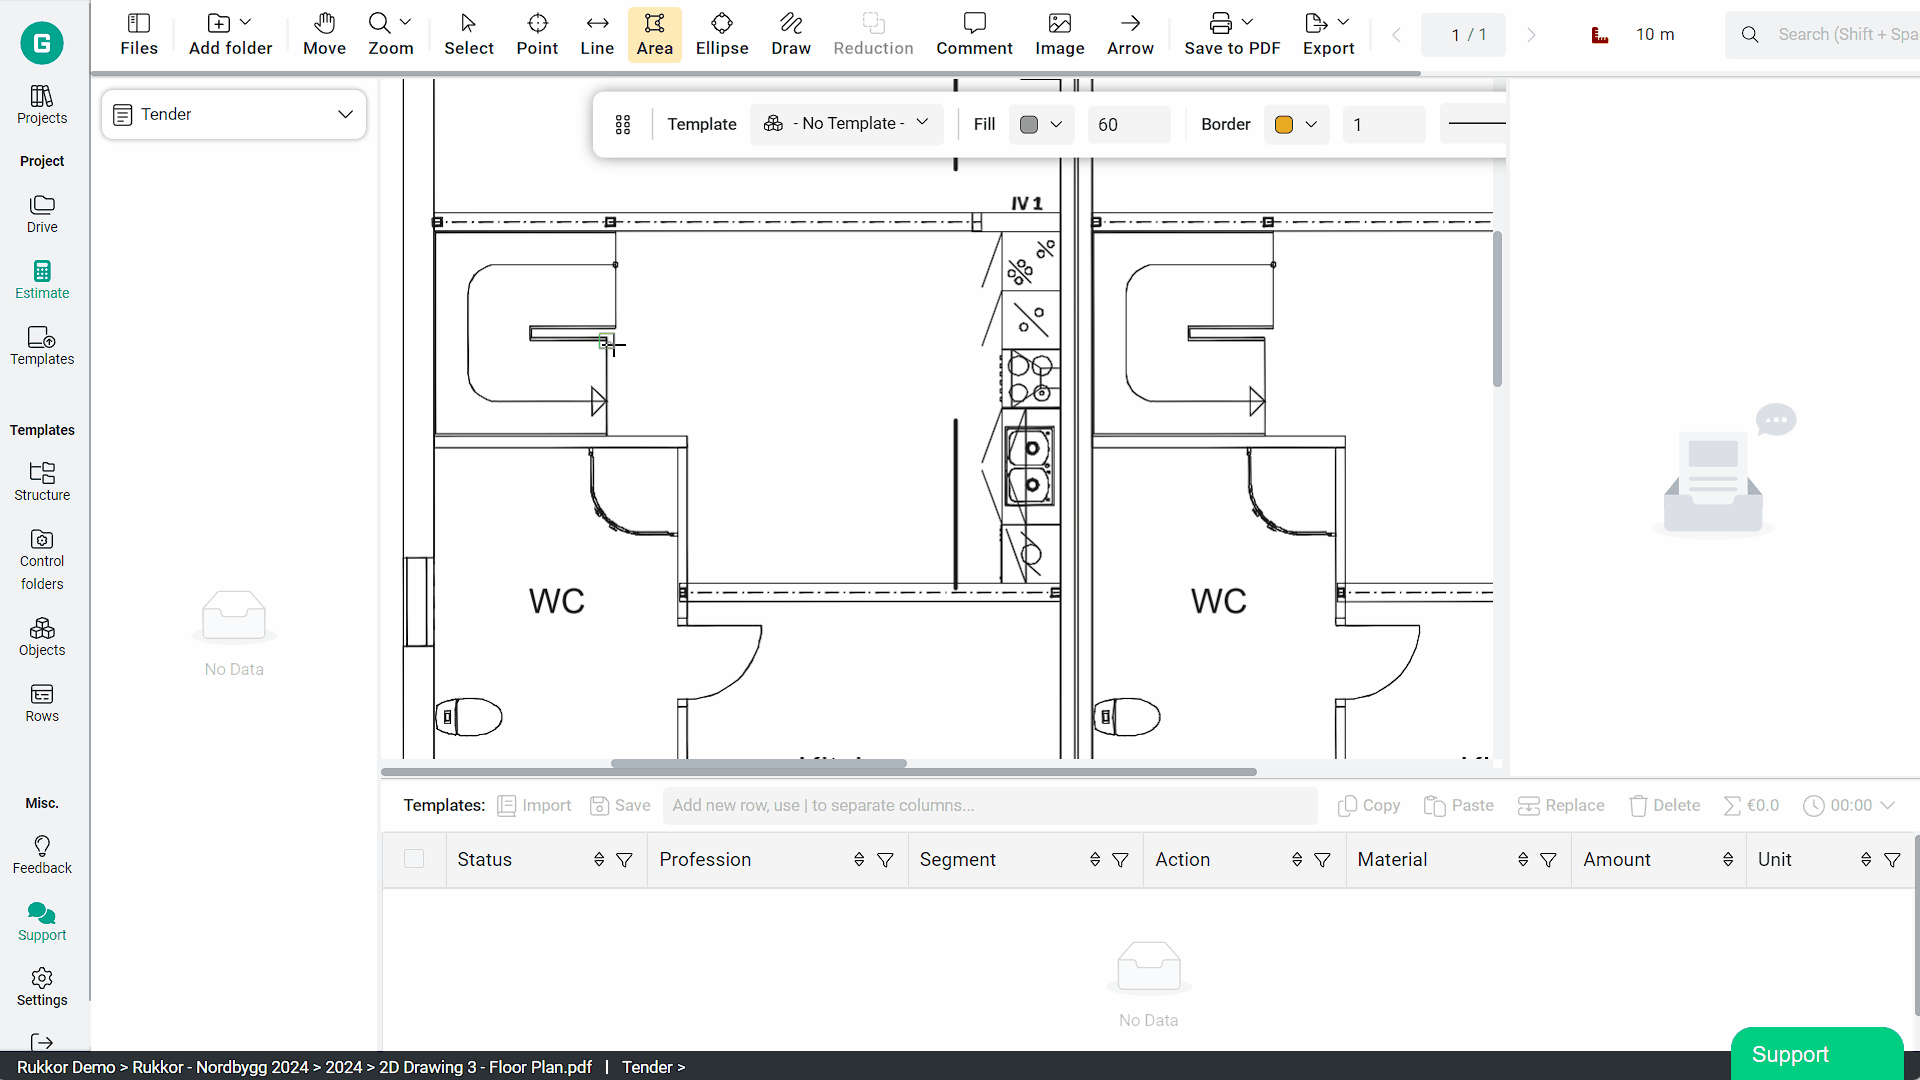
Rows consist of several columns that you fill in to build up the level of detail your quantity takeoff requires. You choose which columns to use — any that are irrelevant to your workflow can be turned off in the program settings.
Available columns:
Status – Not started, In progress, Review, or Completed
Profession – Who will perform the work
Phase – Which stage of the project the work belongs to
Segment – For example, a wall, a floor, or part of a ceiling
Action – The type of work to be carried out
Material – The material or surface layer involved
Amount – The quantity calculated based on your measurement values
Unit – The unit of measurement: metres, square metres, and so on
Price/Unit – The price per unit
Time/Unit – The time required per unit
Total price – The calculated total price for the row
Total time – The calculated total time for the row

Connect Measurement Values
Once you place an object, its measurement values appear in the properties panel. Next to most values, you'll find a variable that you can reference directly in a row.
To create a dynamic link between a measurement value and a row, select the variable and apply it in the Amount field. This link is essential for keeping your quantities accurate — if the object's size changes or the drawing's scale is updated, the row's quantity is automatically recalculated. We strongly recommend using variables wherever possible, particularly when working with drawings that are subject to revision.
How it works in practice: In the Amount column, enter the variable you want — for example, NA for Net Area. While the field is active, you'll see the formula; when you move away, the calculated value is shown. You can also combine variables with mathematical expressions directly in the Amount field.
An object can be a room, a wall, a door, or any other element you measure or count.
Formulas
The Amount field supports mathematical expressions and advanced equations, giving you full control over how quantities are calculated from your measurement values.
A simple example: a room has four walls, three of which are to be painted and one to receive wallpaper. You could write NA - W1 to take the net area and subtract Wall 1, or W2 + W3 + W4 to sum the three walls directly — both yield the same result.
Rounding functions:
ceil()— rounds up to the nearest integerfloor()— rounds down to the nearest integerround()— rounds to the nearest integer
Example: ceil(l/2.5)
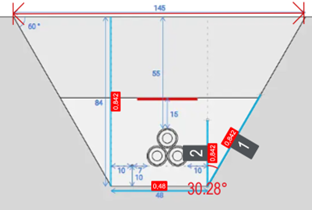
For more complex scenarios, the formula can go much further. For example, calculating excavation mass for pipe trenches during roadworks — with 2 × 300mm pipes, a trench 1.5m deep and 1.2m wide, and a measured trench length — uses the following formula:
((((1,2*h)+(sqrt((h/cos(30))^2-(h^2))*h)))-((0,15*0,15*pi)*2))*l
More calculation examples are available in our guides.
Replace and substitute Rows
You can replace rows on selected objects at any time. Select the rows you want to replace and press "Replace." A window showing your row templates will appear — choose the rows you want to insert. Before the replacement is made, a dialogue box will show you exactly what will be replaced and with what.
Note that this action cannot be undone, so review your selection carefully before confirming.
You can also replace an entire object with an object template, which gives it a predefined appearance and a ready-made set of rows.

Use templates
When working with many objects and a high level of detail, entering row information manually for each one quickly becomes time-consuming. Row templates solve this by letting you apply all the information you need in one step.
Using templates not only speeds up the process of linking measurement values to quantities — it also standardizes your workflow and reduces the risk of human error, such as incorrect input or inconsistent descriptions.
Read more under the topic Templates.

.svg)